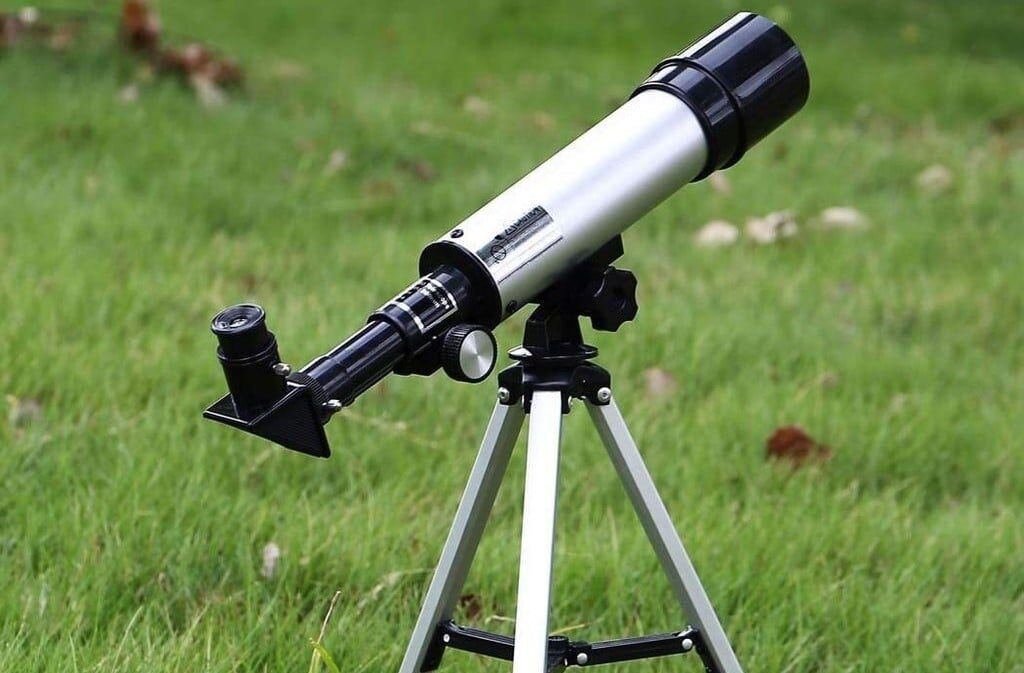

Perhaps you’ve been inspired after reading about amazing, powerful telescopes Trusted Source A Look At the Telescopes of the Future, and What We Will See Through Them James Webb is only the beginning. www.popularmechanics.com around the world. As a result, you’ve just purchased the perfect telescope. You take it out of its box, set it up, and are ready to go. Unfortunately, there is one important step to take and that is to set up the polar alignment. Polar alignment refers to when you set up your telescope so that it follows the natural motion of the planet.
This way, you can better track objects in the sky. If you think you have to wait until nighttime, think again. We’ll walk you how to polar align a telescope during the day. There are a few methods you can try so if one doesn’t work well, or doesn’t make sense, simply go on to the next option. We promise that by the end of this article you’ll be an expert at telescope polar alignment.
While you most certainly need your telescope for proper alignment, there are a few other accessories that are important. These will differ depending on what type of polar alignment you will be using, but here are a few things you will need.
The sun is powerful. Please remember that. When working with daytime polar alignment, you might be tempted to simply look at the sun. However, our eyes are not meant for such powerful force and you can permanently damage them. In fact, you can actually sunburn your eyes Trusted Source Sunburned Eyes: Causes, Symptoms, and Treatment It’s possible to get sunburned eyes if your eyes are exposed to UV light for too long. You should always wear eye protection when you’re near water, even if it’s a cloudy day. Same is true if you’re enjoying snow sports at high altitudes, as the sun can reflect off the snow, and the air is thinner, making UV rays stronger. www.healthline.com , which is quite painful.
When working outside, it’s best to at least wear sunglasses. However, once it comes to aligning your telescope, you will want to attach a special solar filter to your mount. Not only will this protect your eyes as you gaze through the mount, but it will protect your equipment, too.
Telescopes are meant for nighttime viewing and if the lenses and mirrors are exposed to too much sunlight, it can cause damage.
Always go for a certified solar filter. You don’t want to take any chances by using a sub-par filter. If you’ve finally found the perfect telescope, such as the Celestron NexStar 4SE, you want to keep it safe and a simple but effective solar filter is the perfect accessory.
If you are constantly travelling with your telescope, you will have to become proficient with aligning it.
There are many ways to accurately set up your polar alignment. Most use newer technology and can be done in just mere minutes.
Remember in math class when you had those plastic protractors? Turns out they can be useful later in life, too. For this method you will need a 360-degree, or full circle protractor, as well as your smartphone.
Place the protractor on the tripod flange and line it up with the correct alignment hole (0/360). You will also need a sun tracker app, such as Sun Seeker or Sun Surveyor. Download the app and open it up.
On top of your protractor, place a ruler so you can make a radius (a straight line from the middle of a circle outwards) while following the path of the sun. Along the line, place pins.
Then, turn your tripod so that the radius and the shadow of the pin are parallel. Afterwards, you can install your EQ mount.
While this method takes a bit more effort, it’s kind of fun getting to use old math tools in your pursuit.
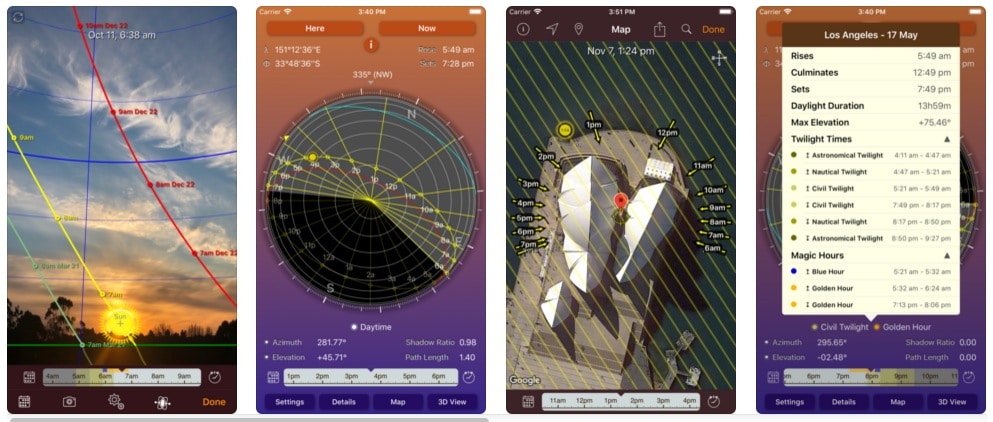
Oh, technology, how easy it has made our lives! There are plenty of stargazing apps you can download, such as Planetarium, Skeye, and Sky Safari. Start by finding an app that you like. Make sure it has a polar alignment option on it.
Once downloaded, set up your telescope so that it its polar axis is directed north. Open your lens cap and launch the app. Then, tape your phone above the lens cap with the screen facing up.
You may need to adjust the polar axis on your telescope, and as you do so, the EQ grid on your app will also change. The goal is to have the EQ grid perfectly in line with the north celestial pole.
In addition to your polar scope, you will need a compass. It should have a hairline sight to aid in the process.
Star by adjusting your mount so that it faces north. You want the mount to be on as level a surface as possible. The next few steps are a bit technical.
First, make sure the GPS in your mount is updated so that it can read the correct time and location. Then, make sure the polar scope is aligned. You want to check the bisection of the RA axis through your compass. You may need to adjust the alignment to come up with an accurate reading.
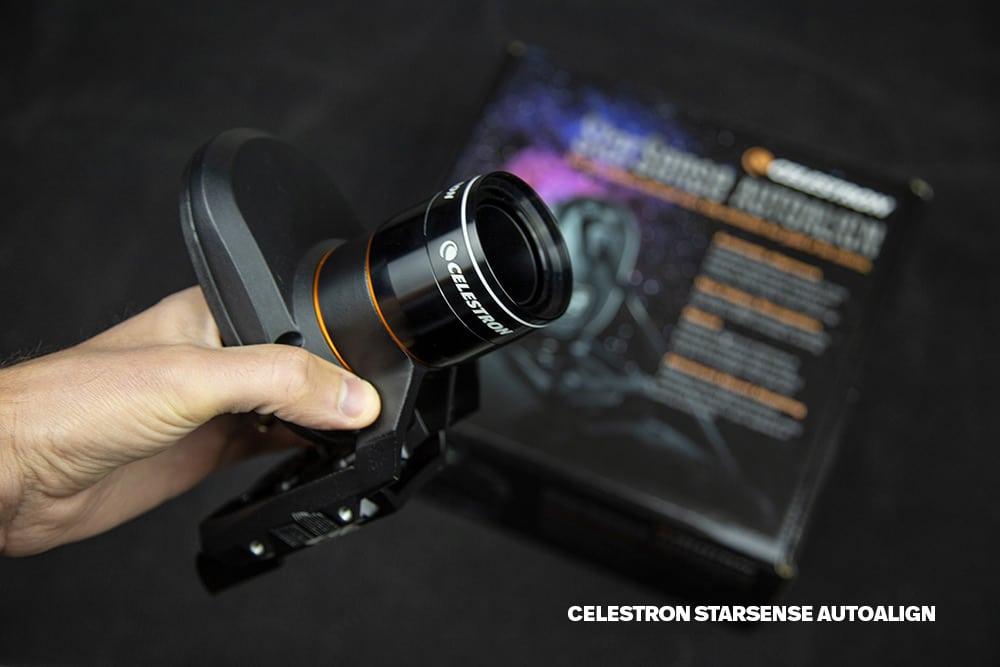
There’s a good chance your EQ mount already has a built-in polar alignment option. This means it is already programmed, making your job a lot easier. For example, the Celestron StarSense AutoAlign is a mount that includes an AutoAlign feature, making your task much simpler.
Simply place your mount so that it faces north and then start the star alignment function. Don’t make any adjustments and instead use the sun as a guide. Finally, use the target through your eyepiece and make the necessary adjustments to center everything.
When you polar align a telescope at night, you can use a bright object but during the day, the only bright object is the sun. It is convenient to use but also quite dangerous. Do not attempt this method unless you have proper eye protection.
To start, you need to use a compass to find magnetic north. Set up the mount so that it faces north. Then, point your mount at the sun. In order to protect your lens, you need to use a solar filter. It can’t be any old object; instead it must be certified.
The sun is incredibly powerful and the solar filter will protect your equipment along with your eyesight. Remember to never look directly at the sun.
Keep the sun in your field of view while adjusting the altitude bolts on your telescope. Center the sun and then lock the positioning.
Finally, monitor your setup. If the sun drifts north or south in your field, then you will need to make some adjustments.
Telescopes can take a bit of complicated assembly at first. There are many pieces you need to understand, including what all the dials and knobs do. In order to properly track sky objects, you need to polar align your telescope. While this is easier at night, it can be done during the day. There are now smartphone apps you can use and even computers. However, if you want to put a bit more work into it, you can use a protractor or even the sun itself. We hope you now know how to polar align a telescope during the day. It might take a few tries but the more you understand about your telescope, the more you will be able to explore with it.
