


Buying your first telescope is an exciting dip into observational astronomy, but it’s also where many beginners can make expensive or frustrating mistakes (I know I have!). The market is filled to the brim with exaggerated claims, confusing specs, and gear that looks super cool but lacks real performance in real-world use.
This guide is designed to give you a clear, honest foundation so you can make a confident, informed decision. No exaggerating, no misleading – just all the information and tips I wish I’d had when I was in your place. I know you’re eager to get started, so let’s jump right in!
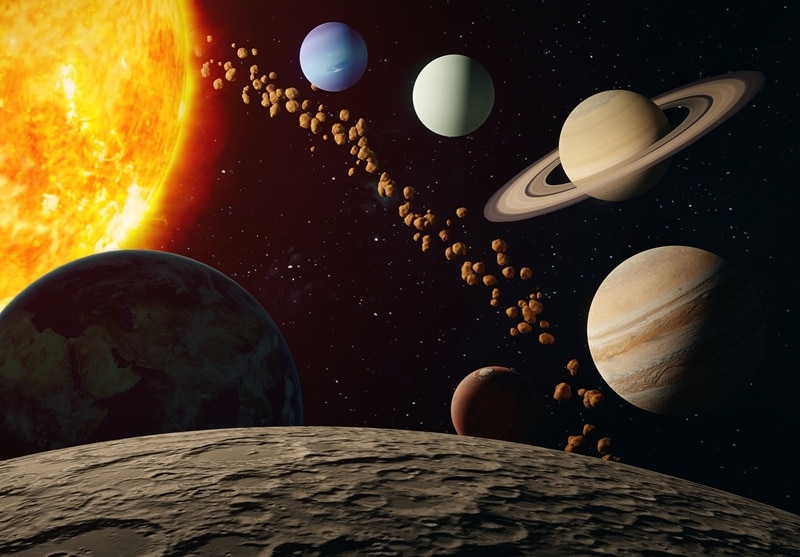
Before we jump into the different types of equipment, we first need to figure out what you want to observe. This decision will guide every other choice going forward.
Common Observing Interests:
Each category places different demands on a telescope. There is no single instrument optimized for all use cases, particularly when we’re talking about entry-level gear. Take a minute to think about what you’re (literally) looking for before moving on to the second point.
Aperture, or the diameter of the primary lens or mirror, is the single most important factor in telescope performance. You can’t get away with cutting corners on this spec.
Why Aperture is Crucial:
A larger aperture will consistently outperform a smaller one, regardless of magnification claims.
Key principle: Prioritize aperture over magnification.
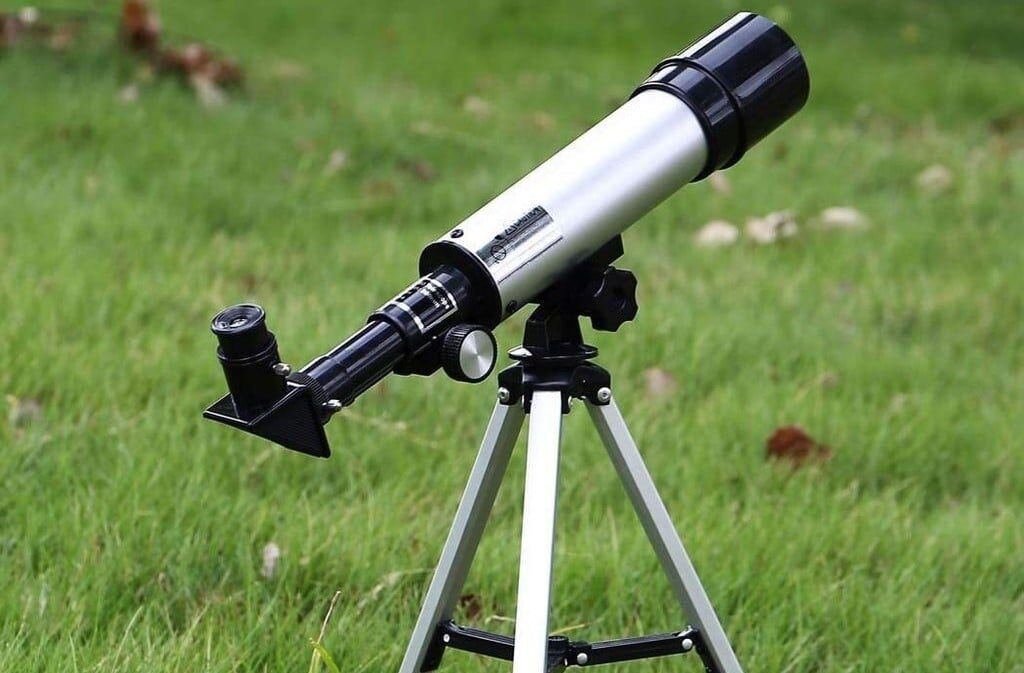
Understanding the 3 main telescope designs will help you ensure your selection is perfectly aligned with your goals and expectations.
Refractor Telescopes (Lens-Based)
Characteristics:
Advantages:
Limitations:
Reflector Telescopes (Mirror-Based)
Characteristics:
Advantages:
Limitations:
Compound (Catadioptric) Telescopes
Characteristics:
Advantages:
Limitations:
The mount is as important as the optical tube, so don’t skip out on this factor. A high-quality telescope on an unstable mount will deliver poor results.
Alt-Azimuth Mount
Best for: beginners and casual observing
Equatorial Mount
Best for: advanced users and astrophotography
Recommendation:
For a first telescope, a stable and straightforward mount is more valuable than advanced tracking capabilities. The ease of use encourages consistent observing, which is essential for trucking on and continuing to develop your skills.
A telescope’s usability depends heavily on how easily it can be transported, set up, and stored.
Consider the Following:
Bigger telescopes generally offer better performance, but it’s not really worth the extra cost and logistical effort if they aren’t used regularly. A moderately sized instrument that is used often will provide far more value than a larger one that sits in your closet gathering dust.
Understanding what different price ranges offer helps to give us more realistic expectations.
Entry-Level ($150 – $300)
Mid-Range ($300 – $600)
Advanced ($600+)
Avoid extremely low-cost telescopes, as they often compromise on optical quality and stability. Yes, this is what I’d done originally, admittedly. It was a true waste of time and money, and I probably would’ve been better off getting something at a kid’s toy store. Believe me when I say you’ll greatly benefit from spending just that extra bit more.
A telescope requires a few key accessories for effective use. You don’t need to get them all in one go, but it’s best if you can.
Required:
Optional but Useful:
Overemphasizing Magnification
High magnification is often impractical due to atmospheric conditions and optical limitations. If you see a brand focusing mostly on this spec, it’s a red flag, in my opinion.
Ignoring Mount Quality
An unstable mount can render even high-quality optics ineffective. I briefly touched on this earlier, but it’s just that important.
Buying Based on Appearance
Design and marketing claims are not reliable indicators of performance. Of course, if you can find something within your budget that comes with the specs you’re looking for, AND it looks cool, by all means make that purchase!
Underestimating Light Pollution
Urban environments significantly reduce the visibility of faint objects. This was yet another aspect I severely underestimated.
Unrealistic Expectations
Visual astronomy differs from astrophotography. Most deep-sky objects appear with relatively subtle detail rather than something you’d want to blow up and hang on your wall.
Okay, I know this seems random, but hear me out! From an optical perspective, binoculars remain one of the most effective tools I’ve ever used for learning the night sky.
Benefits:
Many experienced observers continue to use binoculars alongside telescopes. They are particularly effective for scanning star fields and locating targets.
Equipment alone does not determine the quality of your observations.
Best Practices:
Atmospheric stability (often called “seeing”) also plays a major role in image clarity, particularly for planetary observation.
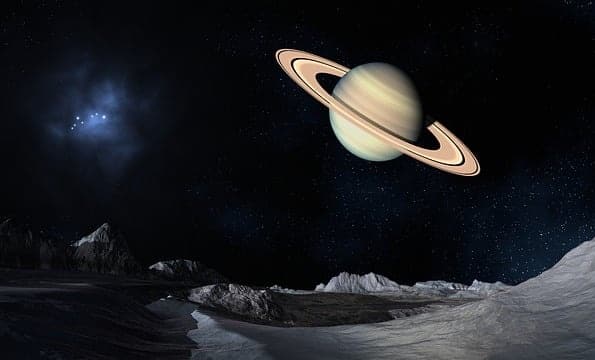
Understanding realistic outcomes will improve satisfaction, because not every planet or object is going to show up with the same results. After all, the moon is obviously much closer to you than Saturn is!
Visual astronomy rewards observation skills over time. Details become more apparent with experience. Don’t give up just because it didn’t show up like you wanted the first few times.
A structured approach will help you get the most from your first telescope:
Final Considerations
Selecting your first telescope is less about maximizing specs and more about ensuring usability, reliability, and consistent engagement. Of course, specs are important, but they’re not everything.
Key Takeaways:
Astronomy is a skill developed over time, just like most things worth doing. The right first telescope should support your learning experience rather than hinder you or discourage you.
Buyer’s Checklist
Before making a purchase, confirm the following:
If these criteria are met, you are in just the right place to make a successful first purchase that you’re going to be happy with!


 About us
  Contact Us