

Birdwatching is one of the most accessible and rewarding ways to interact with Mother Nature, but the quality of your experience is directly tied to the quality of your setup. The first time I went birdwatching,
I was incredibly bored. The setup was bad, I was wearing a neon, noisy windbreaker, and I basically saw zero birds. The right gear doesn’t just help you see birds more clearly; it helps you find them faster, identify them accurately, and stay comfortable enough to keep observing for hours on end.
This guide expands on the essentials, giving you a deeper look into how to put together a birdwatching kit that is effective, long-lasting, and made to use in real-world conditions. The focus is not on owning more gear; it’s on choosing the right gear and using it to its full potential.
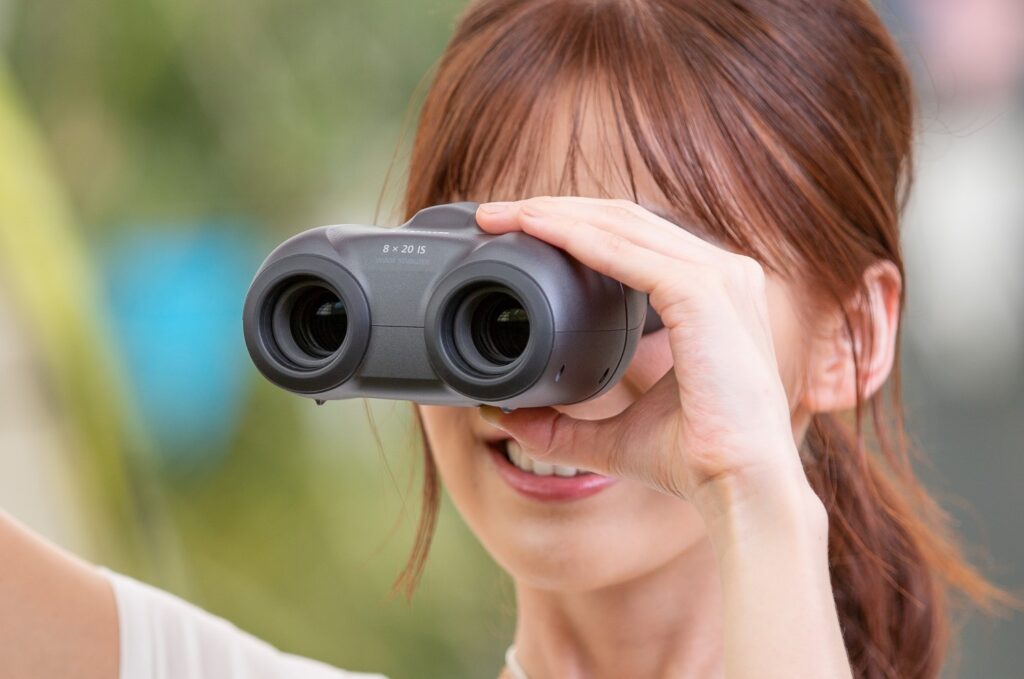
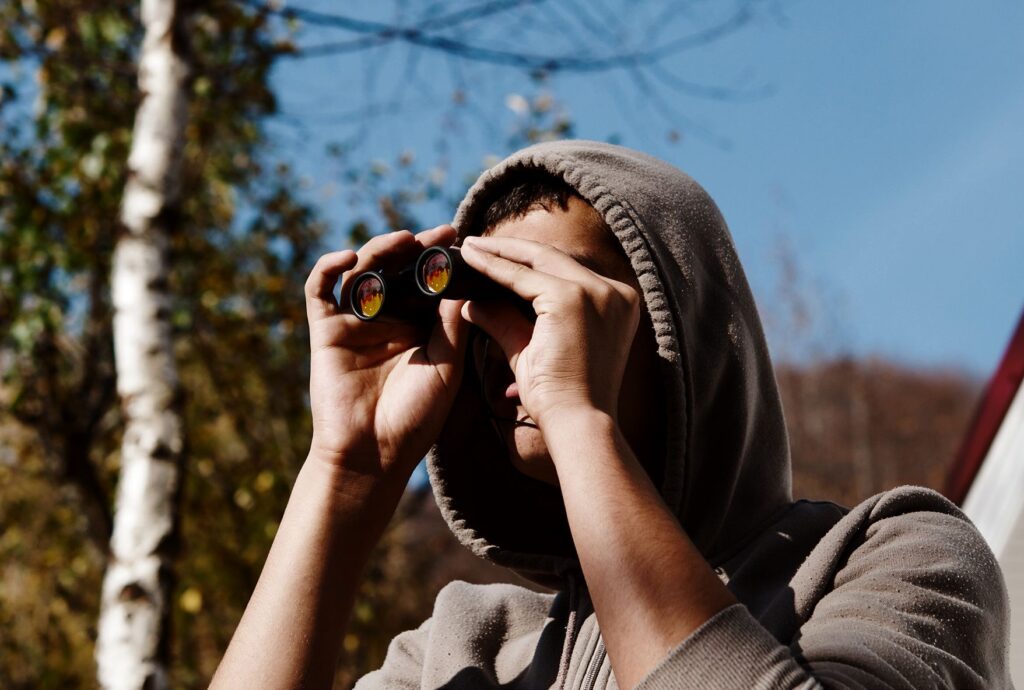
Binoculars are the most critical investment you will make. They’re also generally the biggest investment you’ll make. Focus on getting the right ones for you, and you’re going to be in a good place. Everything else in your kit comes secondary (though will still be very helpful).
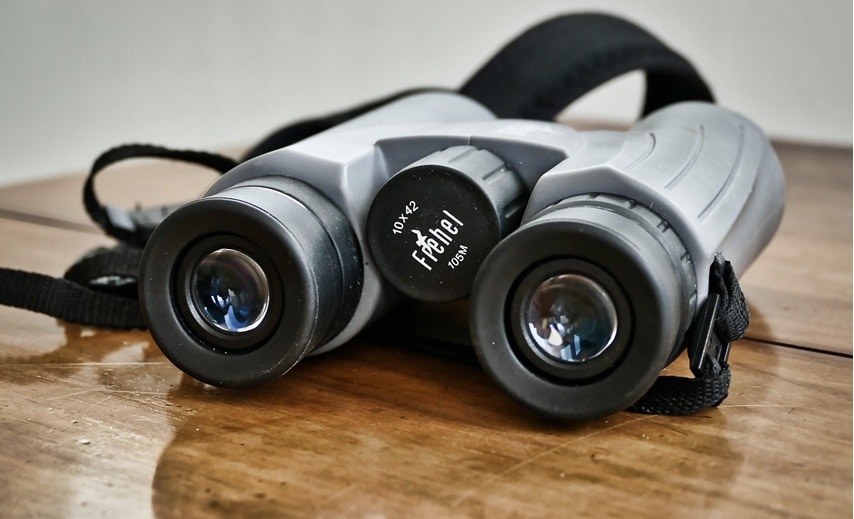
Binoculars are labeled with two numbers (8×42, for example):
That means that these in particular will magnify the image 8 times and have an objective lens of 42mm in diameter. These two numbers affect nearly every aspect of performance – brightness, stability, and field of view. This is why, in my opinion, it’s the most important spec of all.
Everyone seems to think that the greater the magnification, the better the image result will be. In actuality, brightness and field of view make a much greater difference.
Ideal for: forests, general birding, beginners
Ideal for: open terrain, shorelines, raptor watching
Keep in mind that higher mag also means higher distortion, making images look blurry. I personally recommend 7x or 8x models for a sharp image and wider field of view. This greatly improves the ease of finding birds and following them as they move across the sky.
A 42mm objective lens manages to create a balance between brightness and portability.
Smaller options (e.g., 8×32) are more lightweight, but don’t do as well in low light. Larger options boost brightness but reduce portability. That tradeoff will come in somewhere, somehow, though binoculars with objectives larger than 42mm are almost always going to be too bulky and heavy, logistically.
Beyond magnification and size, pay attention to:
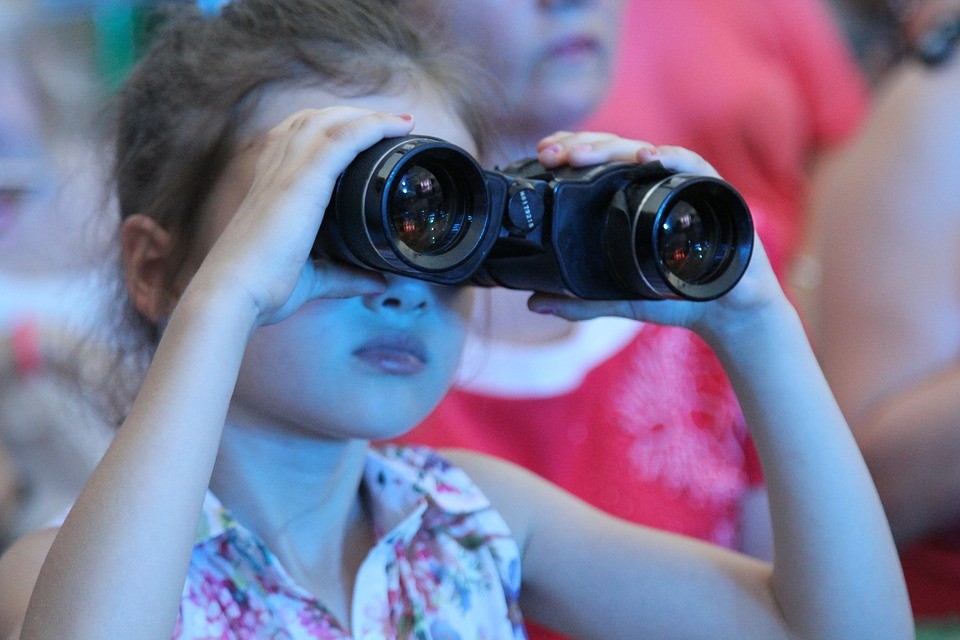
You will use binoculars for extended periods, often in challenging environments.
Look for:
A technically excellent binocular that is uncomfortable will quickly become basically a piece of junk in the field.
Close focus distance refers to how near you can be to your subject while maintaining clarity. Look for models with the one focusing knob right in between the two barrels as opposed to the ones with separate focus knobs. They’ll lag and don’t make sense for the speediness that birdwatching requires.
In practical birdwatching, stability and clarity consistently outperform raw magnification. An 8× binocular with excellent optics will deliver a better experience than a higher-powered model with inferior stability or brightness.
Seeing a bird is only part of the experience, but identifying it is what hones skill and creates engagement.
Printed guides:
Apps:
Most birdwatchers benefit from using both, though if I had to choose one, apps would be my preference, by far. They’re easier for beginners, in my opinion.
Apps have significantly improved accessibility for beginners and efficiency for experienced birders.
Key Features to Prioritize:
Apps can accelerate learning, particularly when identifying birds by sound, which is a critical skill in dense habitats and something that took me a while without apps.
eBird is an incredible option and probably the best, overall. I recommend downloading it before ever making your way into the field. Make sure to download regional bird lists to your database, as you’re not likely to have great internet access out on the trail.
Alternatively, Merlin Bird ID is a great choice (or in ADDITION to eBird). Merlin’s sound ID is incredible at identifying bird calls in real time.
Keeping records can help take you from casual birdwatching into a structured, improving practice. It’s one of the best and most efficient ways to improve.
What to Record:
Over time, patterns will come to light, like seasonal changes, migration timing, and habitat preferences.
Discomfort reduces observation time and attention.
Yes, I know, you probably don’t want to think about this aspect, but it’s actually pretty important! It’s something I had definitely overlooked for a while. Not only is your comfort crucial, but the right colors and fabrics can mean the difference between wildlife scurrying/flying away from you and you getting the view of your life.
Comfort directly influences both endurance and focus, so do yourself a favor and sort that out before you run into issues.
A spotting scope is a specialized tool, not a beginner requirement.
Best Use Cases:
Trade-Offs:
A spotting scope is most valuable once you have established consistent birding habits, so no need to really think about that right now.
If you add a spotting scope, a tripod becomes essential.
What to Look For:
Compromising on tripod quality will negatively affect the effectiveness of the scope.
Many birdwatchers eventually integrate photography, and it’s actually easier than you’re probably thinking!
Photography introduces additional complexity, so prioritize observation skills and work up to photography.
Even the best equipment depends on effective use, so let’s go into some essential skills to work on!
Efficiency improves with practice and familiarity, as with anything.
Overloading Your Kit
Excess gear reduces mobility and focus.
Ignoring Fit and Comfort
Poor ergonomics lead to fatigue and reduced use. No one wants to be waiting around while sweating bullets in a non-breathable sweater.
Choosing Specifications Over Usability
Performance in the real world is more important than technical over-exaggerations and marketing ploys.
Neglecting Skill Development
Observation ability improves through time and repetition, not equipment upgrades. A brand new, shiny set of binoculars isn’t going to help you much if you haven’t already created a foundation of skills.
A well-balanced beginner kit should include:
This setup covers the vast majority of birdwatching situations without unnecessary complexity.
Upgrade only when a clear limitation appears.
Purposeful, well-selected upgrades prevent wasted money.
An effective birdwatching kit is defined by clarity, reliability, and usability rather than quantity. Binoculars remain the centerpiece, and selecting the right pair will have the greatest impact on your experience.
Birdwatching is a discipline of attention and patience. The right equipment supports that discipline, but it does not replace it.
Before heading out, confirm you have:
With these points in place, your kit is complete, and more importantly, effective.
 About us
  Contact Us