

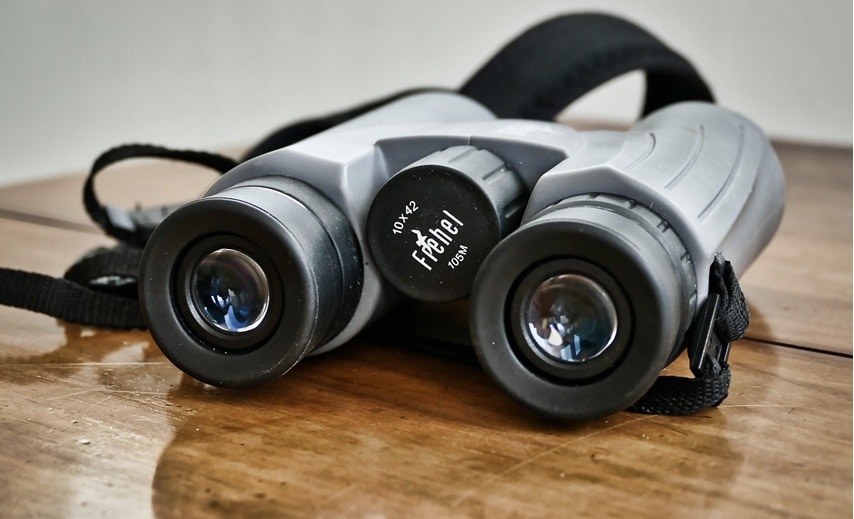
If you’ve ever had double vision on your binoculars, you know how frustrating it can be. It makes it hard to focus on objects and get a sharp image. The defect can also cause headaches and nausea. Fortunately, you can do away with this optic defection by learning how to fix double vision in binoculars.
Double vision occurs when two images fall on the retina at the back of the eye. The brain then combines these images
into one image
Trusted Source
Double vision
- NHS
Double vision (medically known as diplopia) is where you see 2 images of a single object either some or all of the time.
www.nhs.uk
. If you’re experiencing double vision, there are several possible causes, including eye strain, poor focus, an injury to the eye, and of course, a faulty pair of binoculars.
If you suffer from this problem, the first step is to determine if it’s due to an optical defect or a physical issue. If it’s due to an eye injury, then you should see an ophthalmologist immediately. If an optic defect causes double vision, this article will teach you how to repair that in simple steps.
When your pair of binoculars has double vision, it means that it is out of collimation. For you to fix this optic defect, you need to re-collimate your optical equipment. This procedure is sensitive. If you get one step wrong, then you might damage your equipment.
If you have a decent pair of binoculars which is relatively expensive, we do not recommend fixing it by yourself. It would be best to take it to a technician who knows how to avoid messing up with your optical equipment.
Also, if you bought it recently, the chances are that it is still under warranty. All you need to do is take it back to where you purchased it, and it will be repaired. Attempting to fix it by yourself will void your warranty.
For those of you who own cheaper models, then you might want to repair them by yourself. Having a technician collimate them for you is costlier than actually buying a new pair of binoculars. If you are not a tech-savvy or a hands-on person, you can purchase new equipment. However, be sure to get the best available in the market to avoid it going out of collimation. According to most user reviews, the Zeiss 20 x 60 S Image Stabilization Waterproof Binoculars must be the most exquisite binoculars in the market that are made up of high-quality constructions. Thanks to its metal housing, black rubber coating, and mechanical image stabilization features, the equipment is among the best image-stabilized binoculars that are durable and rarely have double vision defects.
If you have decided that you can fix the defect yourself, then here is the part you have been longing to read. Follow the five simple steps below at your own risk. Remember to read and understand every step. Take your time and keep calm. However, if you’re in the market for new binoculars, consider exploring the top-rated options to ensure lasting quality and avoid collimation issues. Check out our recommendations for the best binoculars.
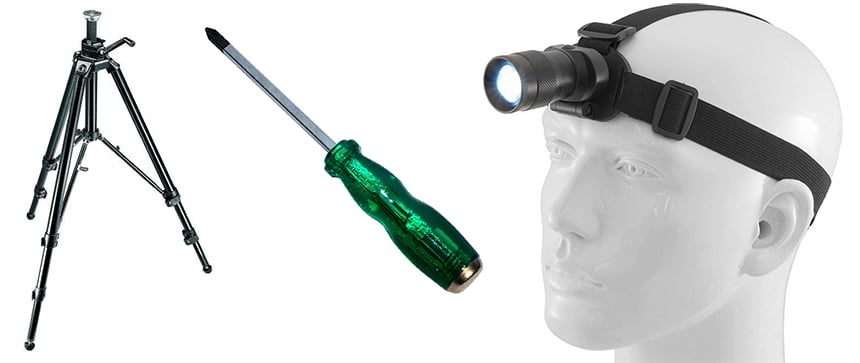
The first step of this simple but possibly hazardous procedure is getting supplies. You will need the following:
That’s all you need for this simple procedure. There are, however, other tools such as Bahtinov masks and so forth that will make your work easier. You don’t need most of these tools as this procedure is all about locating the collimation screws and adjusting them accordingly.
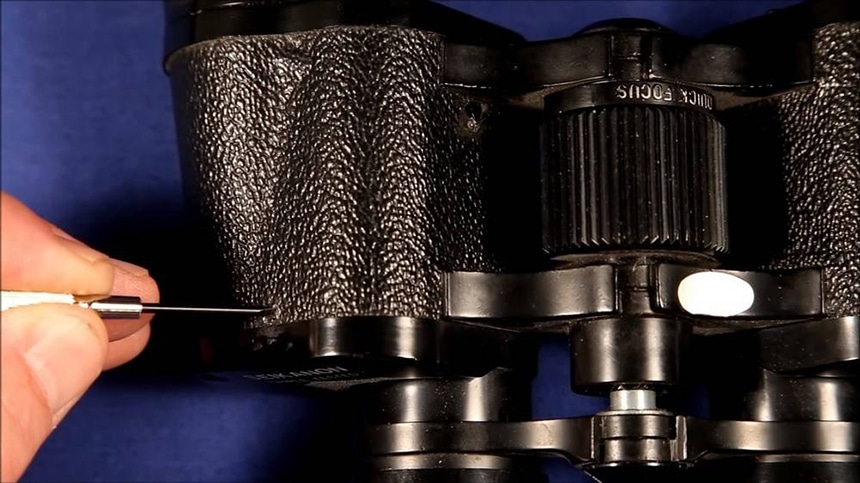
So, the second step you should follow when fixing double vision on your binoculars is locating your adjustment or, instead, collimation screws. Here you might need some extra tools such as a knife or a big screwdriver. Locating these screws can sometimes be challenging. Most manufacturers hide them under adhesive rubber strips while others under plastic casings.
The most efficient way to locate these screws is by reading your binoculars’ user manual. If you can’t find the hard copy of your manual, you can always search for it on the internet. The chances are that this information will be on the document.
If the manual has not captured the information, you can still locate them by yourself. Collimation screws are located in the same area for all binocular models. So, you can easily find them.
Focus your search on the eyepiece side of your equipment to find the horizontal adjusting screws. There will be an adhesive rubber strip or plastic coating that you need to remove to find them. Use a knife or a sharp razor blade to remove the casings. It would be best if you pointed your knife or razor away from your lens to avoid damaging or scratching them.
To locate the vertical adjustment screws, focus your search on the sides of your binocular barrels. Just like finding horizontal ones, you need to look for a plastic casing or thin rubber strips. Use a knife or a razor to open the plastic or rubber case.
The location of horizontal and vertical adjustment screws described above is the specific position in most binocular models. Some manufacturers can have them in a different area. So, if you can’t seem to locate them, intensify your search to other areas of your binoculars. Also, do not confuse the adjusting screws with the crosshead type. The former will fit into a flat-headed screwdriver while the latter will not.
First of all, before you start adjusting the screws, you need to determine which lens has the problem. If you touch the prisms when they are correctly aligned, then you have a lot to lose. Use the steps below to determine which lens has a defect:
If you see the blurry blob and the sharp image inline, then your binocs are not out of collimation. But since you have followed the procedure for this long, the chances are that they will not be in line.
Here comes the juicy step. Now, the screws you uncovered are collimation screws. They are meant to be in a particular position and not tightly screwed in the binoculars. They are connected to the prisms, and as you adjust them, the prisms move.
If you screw them tightly, you will bust and break your prisms. As such, we recommend making small turns per adjustments. Use about an eighth of a turn every time you move the screws till you get a sharp image.
Also, keep a record of all the movements you make so that you can revert the screw to its original position if anything goes wrong. We recommend noting them down in a notebook instead of memorizing them as you can easily forget.
As you adjust the screws, look through the binoculars to see if your target appears sharper. Once you move the screw for an eighth of a turn, observe the object keenly to note the effects that adjustment had on the images. After two observations, take a break of about 10 seconds. Prolonged exposure to such a pair of binoculars will cause eye strain and possibly a headache. By taking a break, you can avoid that.
Start by adjusting the horizontal adjustment screws. Adjust until the blurry blob, and the sharp images are horizontally in line. The binoculars will not be fully collimated Trusted Source Binocular collimation vs conditional alignment As binocular enthusiasts share their passion, topics related to collimation abound. Typically, we find how observers, armed only with a jeweler’s screwdriver, can “perfectly collimate” his or her binocular, make it “spot on,” or other verbiage of similar connotation. Unfortunately, what most are addressing is a form of pseudo-collimation I have referred to since the mid-1970s as “Conditional Alignment.” www.spiedigitallibrary.org by just adjusting these screws. To complete the collimation, you also need to adjust the vertical adjustment screws.
While working on the vertical screws, follow the steps you used for horizontal ones. Only turn them for an eighth of a circle for every adjustment. Take a break after every adjustment. Move the screws until the blurry blob and the sharp image are in line vertically.
If this is your first-time collimating binoculars, we suggest that you take your time. You would be wrong to expect that you will have finished this task in just a few minutes. Depending on how much your equipment is out of collimation, it will take more than one or two hours.
Once you are done with the adjustments and have managed to bring the two images inline, you need to test to confirm whether you fixed the issue.
Start by refocusing the side you unfocused to obtain a clear, sharp image from both sides. Do not unmount your binoculars yet; keep them firmly attached to your clamp or bracket.
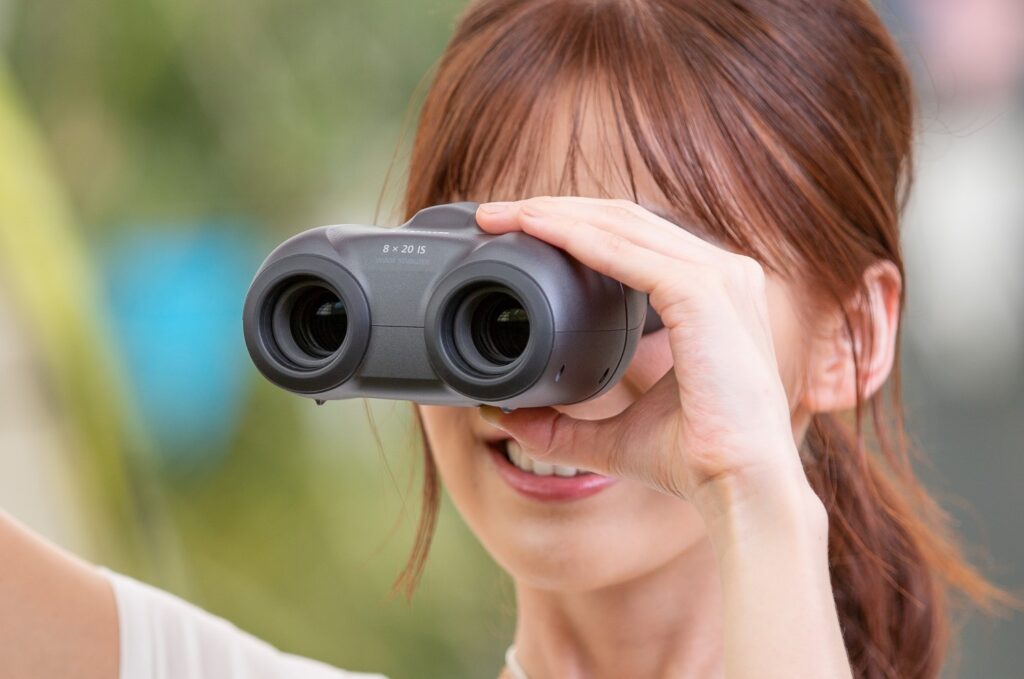
Look through them and observe your object. You should be able to see one sharp image instead of two. Take a break of about 10 seconds and look through them to confirm if the issue is fixed.
If it is not fixed, repeat the procedure. This time, be more observant and make sure the unfocused and focused images are in line. If you can’t fix the issue, it is time to get a professional to collimate it for you. If you have a cheaper model, it would be better to purchase optical equipment instead of paying a technician to repair it. We recommend buying a model with a robust body that can withstand harsh environments without going out of collimation. According to most user reviews, the Fujinon Techno Stabi TS1440-14×40 Image Stabilization Binoculars must be the best model for you. Its phase coat, fiber-glass reinforced plastic body, and reinforced robust plastic features make it almost impossible for the binoculars to suffer de-collimation due to mechanical forces.
If you successfully fixed the issue, then it’s time to snap back the rubber strips and plastic casing you pried up. Use some glue to make sure they fit in properly. Do not leave the screws uncovered as they might turn due to friction or if any mechanical force acts on them.
If you own old binoculars or those made up of a weak body, it is common for them to need a few adjustments. While you can have them repaired by a technician, you can save a few dollars if you learn how to collimate them by yourself. Also, the cost of repair for some cheaper models is costly than actually getting a new pair of binoculars.
Not only will you be saving some bucks, but you will also know how your optic equipment works if you learn how to fix double vision in binoculars. If you are always excited about new challenges, you have no reason not to try to fix them by yourself. As you fix it, take all the necessary precautions to avoid damaging your equipment. Mount it firmly, handle it gently, and do not tighten the collimation screws.

 About us
  Contact Us