
Learning how to photograph stars, galaxies, constellations, distant planets, and the moon is an excellent way to experience the night sky on a more personal level. That said, it might be an infuriating and frustrating affair for beginners since there is so much technical knowledge needed without which the images end up as substandard.
You also need the right equipment. Notably, the base configuration for almost all beginner night sky photographers is a DSLR camera alongside a lens. However, if you want to photograph deeper in space and capture distant galaxies, nebula, and more, you will need to upgrade the equipment you use. This write-up tells you how to set up your gear no matter where you are in your night sky photography journey.
Most beginner ‘astrophotographers’ first learn how to photograph stars with a Canon or Nikon DSLR with a basic kit lens. After that, they discover the joy of astrophotography and want to experience more. Consequently, they end up adding equipment such as telescopes and star trackers to their kits. You can learn how to set up that new DSLR in this section. This will allow you to get those fantastic star shots you see on Instagram, Pinterest, and other social media.
Of course, the first two things you’ll need to acquire are the DSLR camera and the kit lens. That is if you don’t already own them. The only other thing you need is a tripod. Almost all modern DSLRs have good low-light capabilities. That said, some have better low light capabilities than others. An example is full-frame cameras tend to perform better in low light than crop-factor cameras.
Even where full-frame DSLR cameras are concerned, later models tend to have better low light sensors than their predecessors due to improvements in technology. However, for a beginner, even the cheaper options in the market are capable of giving you good image quality.
A remote shutter release, spare batteries, and even a lens hood may help you in your endeavor. Other optional accessories include an intervalometer and some camera filters. The remote shutter release eliminates any motion on the camera caused by you manually pressing the shutter button. The spare batteries come in handy since the exercise takes a while and uses up a lot of the camera’s battery power.
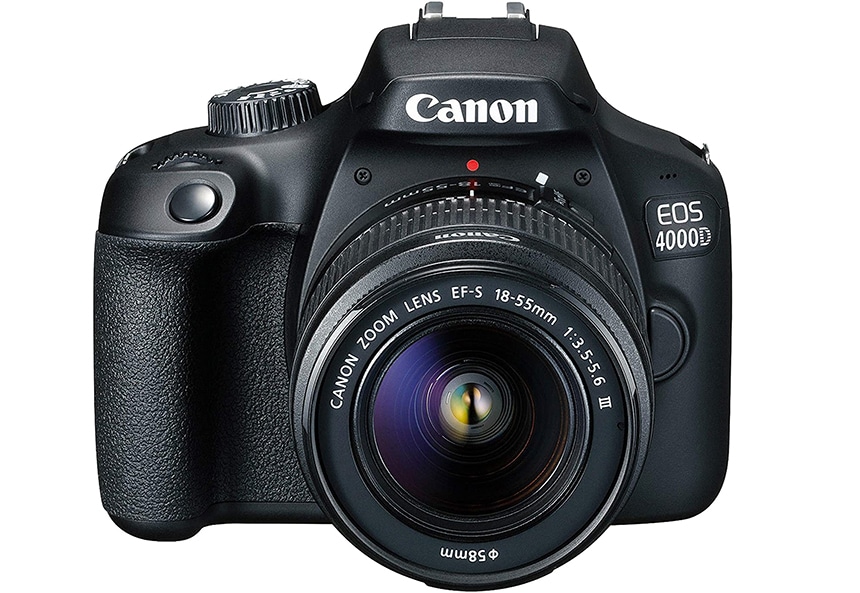
According to reviewers, the Canon EOS 4000D DSLR is one of the more affordable DSLR options that can get you into astrophotography. The package comes with a wide-angle lens that will work perfectly for shots of the night sky. A tripod is also included, which means you won’t have to buy anything else until you’ve acclimated to using this first set of equipment.
After getting the equipment, you need to figure out where and when to take pictures of the stars. While the stars are there all the time, even during the day, it doesn’t mean that you’ll be able to photograph them. There may be some obstacles that you need to account for.
One example of an obstacle is cloud cover. If it is during winter, there will be more cloud cover, and as such, your camera won’t be able to capture the stars above the clouds. Another obstacle might be the moon.
While photographing the moon is part and parcel of astrophotography, sometimes its brightness is enough to wash out the visibility of smaller stars. For great results, the new moon phase is the best time to capture the stars. During this phase, the moon will hardly be visible in the night sky. You can look up the current moon phase online for easier planning.
Next, we have the lights in cities. These cause light pollution, which means you won’t see the lights as clearly as you would in areas without as much light. Consequently, if you live in the city, you might have to get out of town to capture the images of the stars you want. After all, if you can’t see them well with your eyes, chances are you won’t be able to capture them with your camera sensor either.
Also, if you end up capturing the stars, there will be an orange haze around them which makes the whole photo look unappealing. As for the time, the darker it is, the better. Consequently, you’ll be better off if you can take your photographs later in the night. Between 10:00 PM and midnight is the ideal time.
To summarize, choose a cloudless new moon phase night in a location without much artificial lighting. Places like campsites are perfect for this kind of exercise. Once you’ve picked a location and time, you can set up your tripod and wait to take the picture.
Your camera also has different settings to work for varying lighting scenarios. In the case of astrophotography, the sky and your surroundings will be pitch black which you will have to account for with your camera settings.
The First is the aperture. This influences how much light reaches the camera sensor based on how open the lens is. Notably, the aperture is given in terms of F-stops. The lower the F-stop, the wider the opening in the lens. As such, opening your lens to F/3.5 is miles better than leaving it at F/5.6 or F/11.
There are prime lenses with even lower F-stops, e.g., F/2.8, F/1.8, F/1.4, and more. So set the aperture to the lowest setting to ensure you capture as much light as possible. Next, tweak the ISO sensitivity. This adjusts the camera sensor’s sensitivity to light. A higher value, in this case, is better. However, for most cameras, you don’t want to go past ISO 1600 since that will introduce noise in the image.
You can experiment with the ISO range between 800 and 1600 to see which works best for you on the night that you’re taking the photographs. The last thing you’ll need to change is the shutter speed. The longer the shutter is open, the more light that the camera can capture. As such, you might want to work with a 15-second shutter speed or longer.
Something to be careful of is the earth’s rotation. If the shutter stays open too long, you will capture star trails where the stars seem like they’re moving. This can also be used artistically, but for the most part, you want tack sharp images of the stars, which will be ruined once they start to trail.
Also, how long your shutter can stay open without capturing star trails will depend on the focal length you’re using. You can calculate the longest time you’re allowed to leave the shutter open by dividing 500 by the focal length of your lens. It can be 500÷24, 500÷14, or more, depending on the lens.
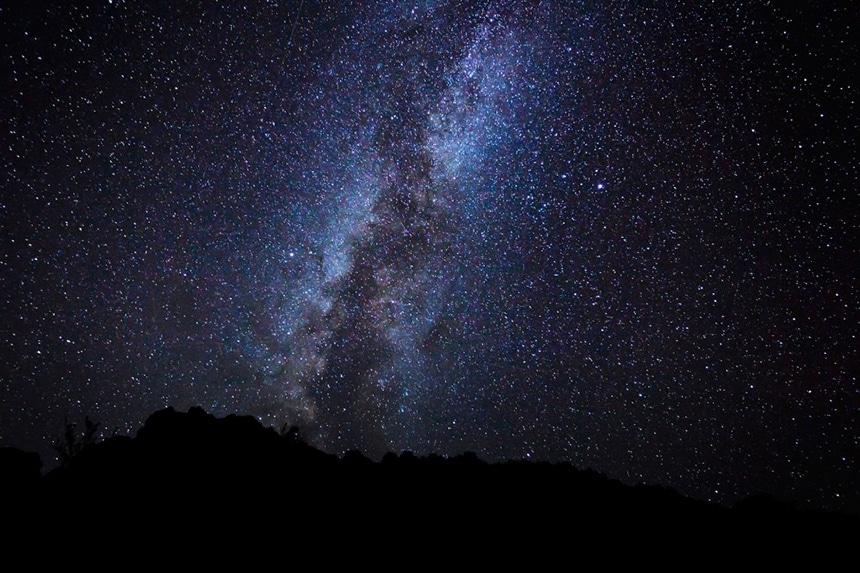
Composition is what sets photographers apart from each other, no matter the genre. If you get your composition off, you can still end up with a mediocre photo despite capturing the Milky Way or the stars. Other than the sky, you also have to consider the elements of the foreground. If you look at those pictures of the stars you love so much on Instagram, you’ll notice that the sky isn’t the only thing captured.
There will likely be other attributes such as vehicles, trees, a water body, hills, valleys, and more. All of these add to the visual interest of the image produced. Find ways to incorporate such in a visually appealing way. The rule of thirds Trusted Source Rule of thirds - Wikipedia The rule of thirds is a “rule of thumb” for composing visual images such as designs, films, paintings, and photographs. en.wikipedia.org is another way to add to the composition of the photograph.
Another thing you need to get right is the focus where the stars appear as dots and not as blurry messes. To do this, activate Live View mode, where the image is displayed on the camera screen. Use this to zoom in to the brightest star and then adjust the focus manually until the image is as sharp as possible.
While modern cameras have impressive auto-focus capabilities, they are more than likely to struggle in the dark. Also, you can set your focus during the day when there is much more light. What you’re looking for is a clear horizon. For that, look for the furthest subject you can find and focus on that. After that, check to see if the horizon is in focus. If it isn’t, look for another subject that works.
Once you’ve set up your focus, you can then wait to take the photo in the evening. Notably, you might get the first few images wrong. If you do, you can examine each picture for the problem that makes it less than ideal. Once identified, you can then correct your settings and setup to solve the issue.
Over time you’ll find that you get better and better both in composition and in the settings you pick. Of course, you also need to learn more about photography techniques in general.
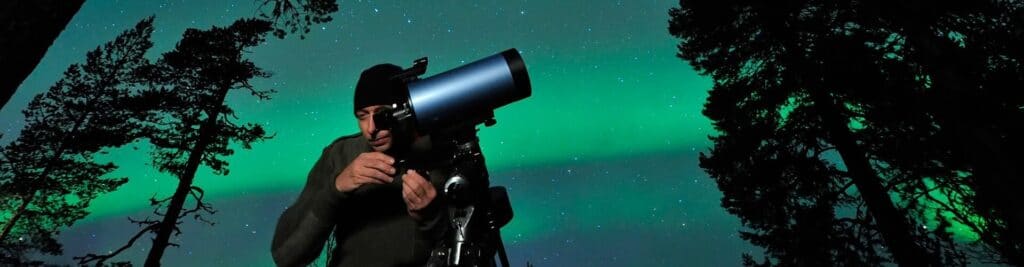
At some point, you’ll have done all that you can with a camera and lens and will then decide to expand your horizons using a telescope. The basic setup of a camera and a lens allows you to capture the Milky Way and other closer attributes of the sky with little detail. On the other hand, the telescope should enable you to see and take pictures of deep-sky phenomena such as foreign galaxies, nebulae, constellations, and more. Here’s the equipment you’ll need to make it happen.
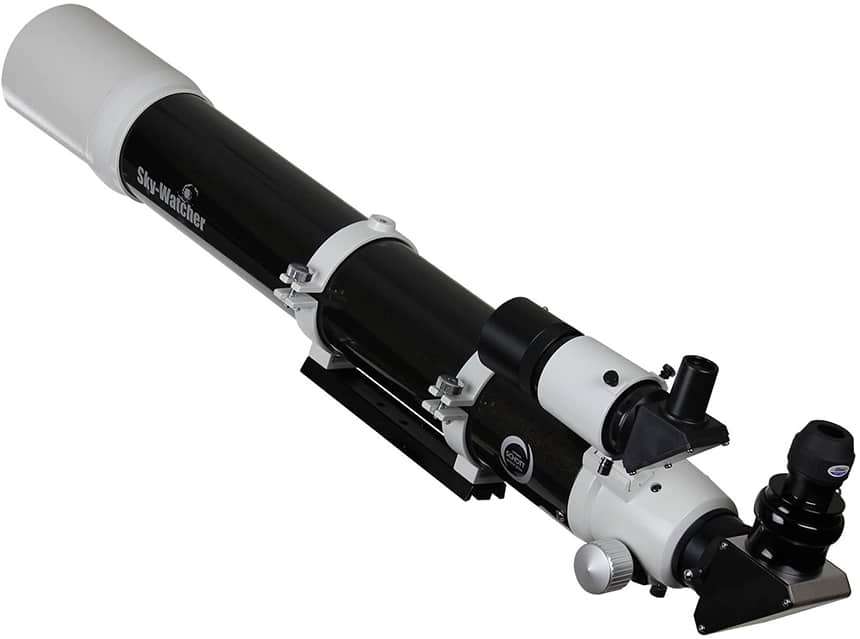
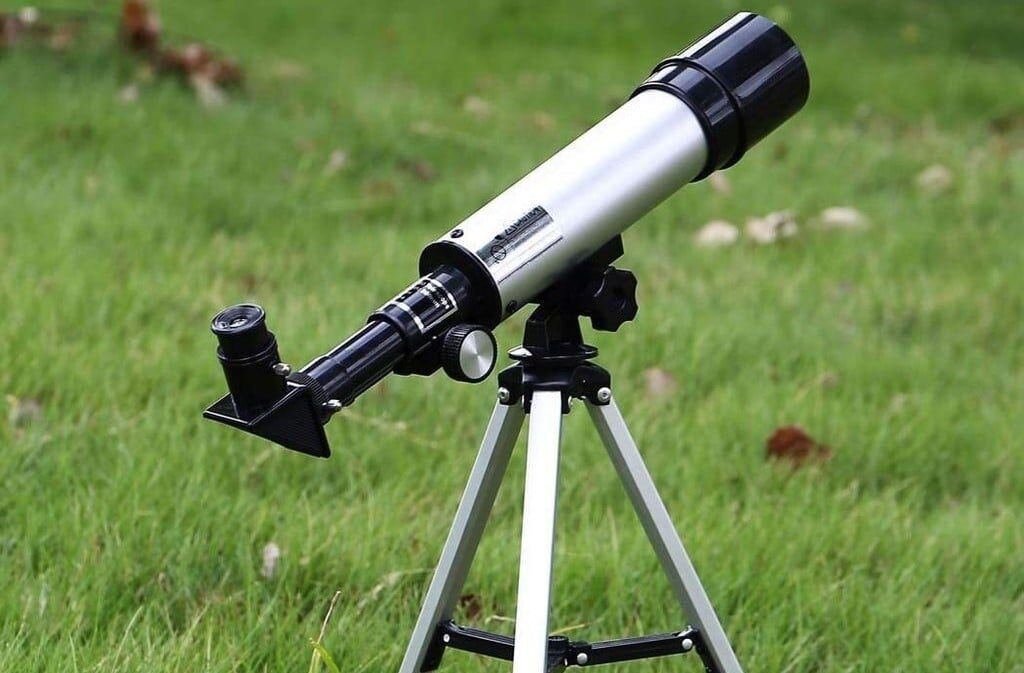
The first two pieces of equipment that you need are a telescope and a DSLR camera. As for the telescope, the Sky-Watcher EvoStar comes highly recommended as it is made with a dual-speed focuser. This feature is handy for ensuring you get the focus in your images right.
Some telescopes come with mounts, and as such, you might not need to purchase a tripod stand. That said, the best option for deep-sky photography is an equatorial mount. This allows your setup to automatically adjust angles according to the rotation of the earth.
After that, you need to get a T-ring that attaches to the camera body. Notably, there are varying T-ring options available for different camera bodies, so ensure you pick the right one. An adapter that connects the T-ring to the telescope is also needed.
If you happen to get your hands on a prime-focus adapter, it should be inserted into your telescope’s focus tube just like an eyepiece. A flattener might also come in handy if you want to flatten the telescope’s field of view.
When learning how to photograph stars with both a DSLR and a telescope, you first need to attach these seemingly independent devices. For that, you’ll need to detach the lens from your camera. Usually, there is a button just next to the lens that you press before rotating the lens. This unlocks it, and you can then safely pull out the attachment.
After that, you attach the T-ring adapter. For this, you line up the marker on the adapter with the marker on the lens mount of the adapter, push it in then twist it until you feel it click into place. Next, you add the second adapter, which might be the prime focus option.
You should then insert the secondary adapter into the telescope focuser. However, the adapter in question must match the size of the focuser on the telescope. There are 1.25″ and 2″ barrel options available to work with.
This completes the setup, and you can now use the telescope and its focal length alongside your DSLR. For this setup, the focal length is fixed. You can opt for variable magnification by adding an eyepiece between the camera’s sensor and the telescope. Of course, for this option, you’ll need another adapter that fits into the eyepiece. However, this is only great for photographing the moon and other planets where you need the highest magnification possible.
An app such as the Google sky map for android might help you locate whatever you want to photograph in the night sky. Once set up, you can direct the telescope in that general direction until you find it. Do this before attaching the camera to make sure the particular object is in focus.
You might also need to open your shutter longer. The equatorial mount will allow the focus to remain on the stars even with the earth’s rotation. As such, you won’t get star trails in your images. Also, use a remote shutter if you can so you don’t shake the camera and telescope.
Here are some additional astrophotography tips that will help you get the best results.
Some of you may not have the option of moving away from the city. In such cases there is the option of using filters. These are added in front of the lens or between the camera and the telescope. They can help mute out the light pollution in your surroundings and bring more definition to the stars in the sky.
Alternatively, you can change the white balance to suit the needs of the day. For this, you go to your camera settings and set the white balance as low as 3200 Kelvin. You’ll then need to take test shots to determine the color of the picture. If it is too blue or too orange, you adjust accordingly.
While capturing star trails has been highly discouraged in this write-up, there are still some ways to capture them artistically. Notably, longer lenses capture longer star trails in a shorter amount of time. As such, you’re not limited to short focal length options like the 14mm, 18mm, or 28mm options.
One way to capture star trails is to set the ISO as low as possible and then set the shutter speed to 30 seconds or more. Alternatively, you can take multiple images consecutively then use software to stack them together. This allows you to capture details even with shorter exposures of 5 seconds or less. Whether built-in or external, an intervalometer should help you take continuous images without camera shake until you are satisfied.
If you use the multiple images method, you can still end up with acceptable results even when there is light pollution. Notably, clouds can still pose a problem when you’re taking pictures using a telescope + DSLR setup. As such, take the weather into account whenever you decide to take pictures of the sky and the various space objects.
You need a powerful PC as well. This is because the software you use to develop the images you get is resource-intensive.
There are so many different things to capture in the sky and maybe even more compositions to try out depending on your equipment. As such, it might take you a lifetime to fully figure out how to photograph stars and other elements of the night sky. However, for a beginner, the information above should give you great Milky Way photos. Additionally, you might even get excellent deep space pictures as well once you’ve upgraded your equipment.
 About us
  Contact Us