

Is zeroing your rifle scope really a do-it-yourself thing, or should we turn to others? How many people are able to perfectly reset a rifle at the desired distance and maybe even embroider beautiful rosé patterns? Anyone can do this – those who have already done it are no longer afraid, and every time they try again, they will see that it will get improved, while those who have never tried it are better to learn how to zero a scope.
To be able to shoot accurately and hit the target at any distance and in different conditions, it is essential for the shooter that he or she knows how to zero a rifle scope or collimate a telescopic sight.
People who are new to hunting or any of the remote shooting modes generally have difficulty mounting, viewing, and adjusting calibrating a scope. In the event that you have these same problems, with this article, you can be free to do it yourself anywhere and anytime.
Below you will find practical information on how to operate a telescopic sight, the elements that you will need in the calibration process, and mainly a step-by-step guide on how to zero a rifle scope Trusted Source Telescopic sight - Wikipedia A telescopic sight, commonly called a scope for short, is an optical sighting device based on a refracting telescope en.wikipedia.org in a simple way. Read everything carefully, and you should be able to get your shots on target without much difficulty.
There are three ways to zero a scope that we will discuss below:
To zero your rifle, the tools you will require includes:
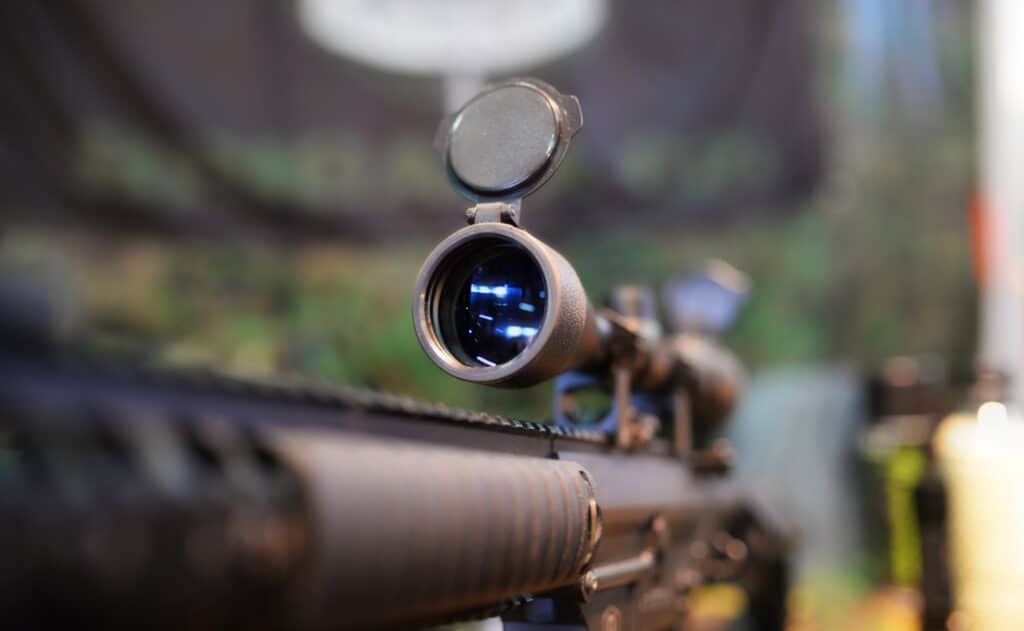
 Support, stand, tripod, bipod, or sandbag: Is it absolutely necessary to use support when zeroing your scope? The answer is yes, you can calibrate a rifle without support, but we definitely do not recommend it. Zeroing a scope without being able to keep it in a fixed position should be something we do in an extreme situation; otherwise, it is highly recommended to use a support to keep the rifle in a fixed position. Calibrating a rifle in the correct way avoids inconvenience in the field, and, especially if it is your first time, get support to avoid wasting more ammunition.
There are two methods by which you can “calibrate” a telescopic sight without taking any shots. However, these methods do not reach the optimal level of calibration that sight could have and will only allow calibrating at very short distances, such as 50 yards, with a maximum of 100 yards.
They are also called emergency calibration methods, and they are highly recommended for emergency purposes only.
This method consists, simply, of following the same steps as other methods indicated in this article, but it is limited to the first five steps, which are:
It should be noted that it only works if we have a bolt-action rifle since this mechanism allows us to remove the bolt and see through the barrel of our rifle, and it will only be effective if we have a way to keep our rifle fixed while adjusting the sight.
As you may have already deduced, the trick is to use the barrel of the rifle as a reference to calibrate our scope. A not very reliable method and very limited to short distances, but follow the steps below, and we will explain it to you in detail.
 The second method of calibrating a scope without taking a single shot is more efficient than the first but is still somewhat limited.
It consists of following the same steps that we had already mentioned, but with a substantial variation, a small device called a collimator would be used.
The collimator is a laser that projects the direction of the barrel onto the rifle. Some come in the shape of a bullet or ammunition and are inserted into the barrel from the rifle magazine itself as if they were ammunition. And there are others that are simply placed on the tip of the barrel. They come for different calibers, and some are universal (they adapt to different calibers).
A collimator can be used to emulate a shot from the rifle and make adjustments accordingly. This will be further detailed in steps 6 and 7 below.
In this way, our sight would be adjusted to the same point where the laser would indicate. Again, it is not the most efficient method, but it works well at short distances.
To use a collimator or laser to zero your scope, use the following steps;
These steps are explained in detail below.
It is possible to zero a scope with a single bullet, but it is not an optimal method.
Although this method is more effective than trying to calibrate a scope without bullets, it is still quite limited.
As some shooters may already know, there is a concept called grouping. That is, you do not want all the shots to go to the same place, but rather that the group of shots you take is as concentrated as possible and aligned to the center of the target at the calibration distance.
Added to this drawback, not all types and brands of ammunition behave the same. If we get picky, one brand of bullets can produce quite different results than others, so a single shot is sometimes not enough to be calm.
As an emergency method, it is perfect (if you have only two bullets left, for example), but if you are going to hunt at great distances, in the mountains, for example, many shooters will not risk calibrating with just one shot.
The method is straightforward. You just have to follow these steps, which are further detailed below:
If you have a collimator, you can help yourself with it. Keep reading for more details.
This is the method usually used by hunters, sports shooters, and designated shooters (police and military). It is based on using the complete step-by-step approach that we detail below; it is complemented by the two methods of calibration that have been previously highlighted (calibrating without bullets and calibrating with a single bullet) it is always best to take your time and use all the resources you have by hand.
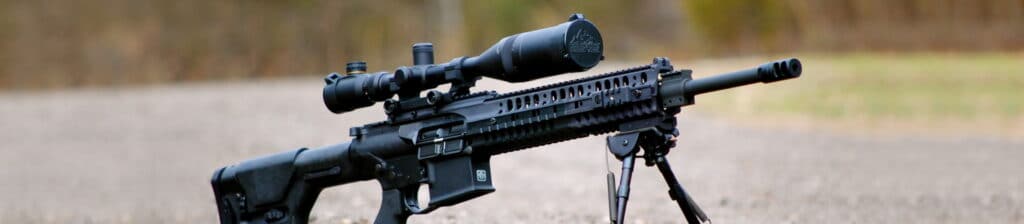
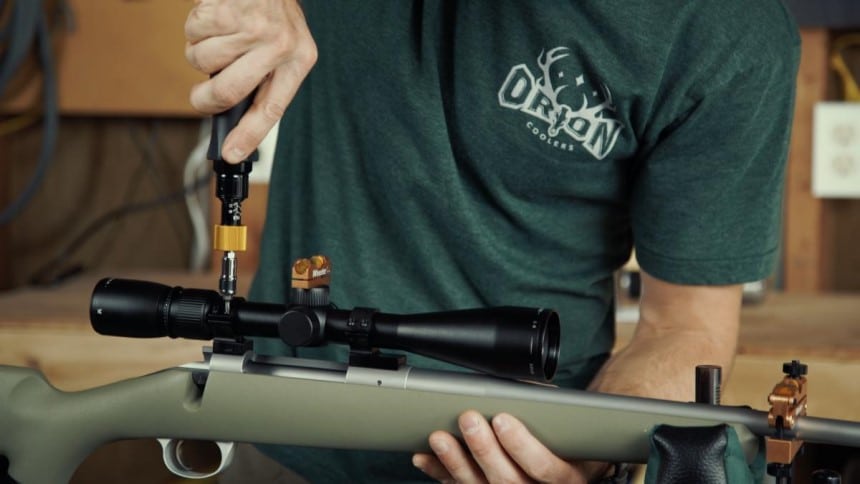 If you haven’t already done so, the first step will be to mount the scope on the rifle. It doesn’t matter whether you wish to zero a scope for 6.5 Creedmoor, Remington 700, or Marlin 336 because this method works for all of them. It is recommended to place the rifle in a fixed position so that it does not move, so we place the mounts as best as possible.
Once the most suitable place for mounting the mount has been chosen, we will proceed to place the telescopic sight on the mounts and rings, leaving an approximate distance between the sight and the rifle of 1.5 cm and then adjust it, but not fully, accordingly so that it is slightly loose.
Once this is done, we must align our sight with the rifle, that is to say, that the horizontal line or point of the rifle is aligned and level with the center of the sight or reticle.
It is also recommended to adjust the sight at a comfortable distance between it and our eyes, place ourselves in a comfortable shooting position, move the sight back and forth, and adjust it to our liking and preference.
Finally, once everything is adjusted and level, tighten the rings and adjust them well to secure everything.
This step is crucial since we must have or manufacture a target or objective that allows us to know precisely and exactly where the shots are being placed.
Splatter Targets are characterized by high visibility, making it quite easy to sight your shots from a distance, eliminating the need to walk down the range to see fired shots. Its unique color of bright yellow bullet holes makes it stand out even in poor lighting conditions, and it is great for people with sight impairment.
Furthermore, the distances between one circumference and the other, that is, the zones, are generally separated by the same distance, one from the other, in centimeters.
This will be useful to us when correcting the shots.
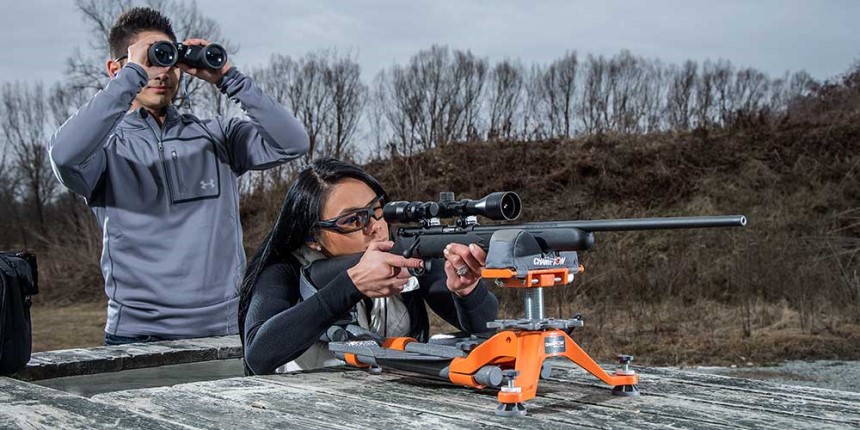
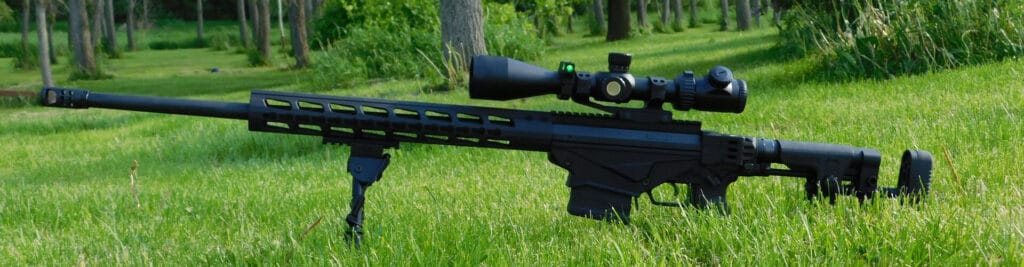
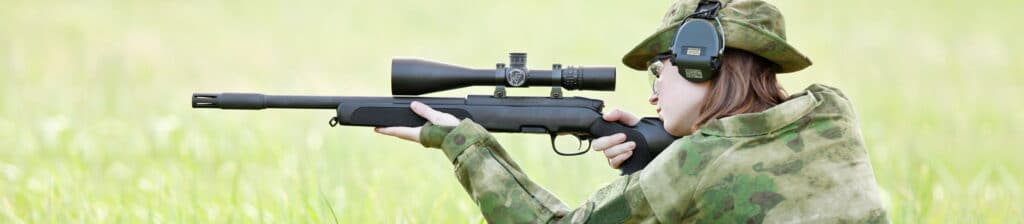
In this step, having the telescopic sight correctly mounted, we will proceed to color the rifle and secure it on a bipod, tripod, or a bag with sand or any other method that allows it to remain stable and firm to prevent it from moving to the time we start to calibrate it. If you are looking for a reliable gun rest, consider the Caldwell Lead Sled DFT 2 that our experts highly recommend, it is a sturdy system with multiple features and massive firearm length fit adjustment.
The firmer the rifle is, the easier it will be to calibrate.
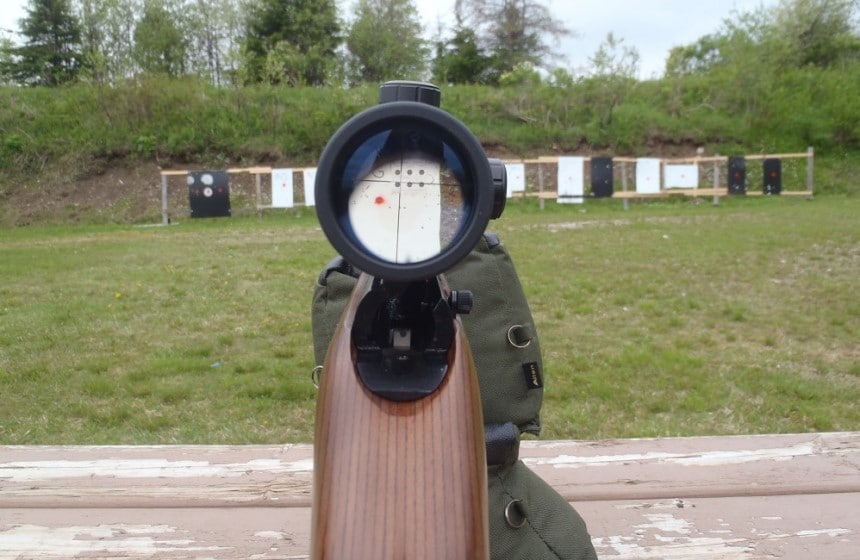
Now we will proceed to place the target or objective at 100 yards. Once this is done, we must align the rifle with the target.
If you have a bolt-action rifle, remove the bolt and look through it at the target, adjusting it so that the two are aligned and once this is done, adjust the base of the rifle with your bipod, tripod, or sandbag so that it remains in this position.
If you don’t have a bolt-action rifle, you can use a collimator. You will arrange the rifle so that the laser’s red dot is positioned in the center of the target.
Note that the distance at which you place the target defines the distance at which the scope will be calibrated. So if you want to choose another calibration distance, you can do it without problems.
Having the rifle aligned with the target and making sure that it does not move, the next thing will be to align the telescopic sight with the target.
To do this, we must adjust the center of the reticle, that is, the point of the cross of our sight with the point of the center of our target or objective.
Once this is done, our rifle and telescopic sight will be in position, and we will be ready to start shooting.
If you are looking to calibrate your scope without shooting, using method one mentioned above, this will be your final step.
With everything ready, well adjusted, and aligned, we will put the bolt back in place, this time putting a bullet in the chamber of the rifle, and we will adjust the telescopic sight to the maximum magnification in a way that gives us a clear and precise image of the center of the target.
Get into position to shoot, relax, take a deep breath, and shoot.
Do not move the rifle after the shot. To make effective adjustments to your scope, they must be made according to your rifle’s same position before firing the shot. Do not accommodate it or move it. Leave it where it was.
If you are trying to calibrate your sight without taking any shots with method two that we mentioned above (using a collimator), instead of the first shot, in this case, you will get the redpoint of the laser from your collimator as a reference.
Without moving the rifle from a place and after having fired (or positioned the collimator), make sure the rifle is unloaded and observe the position of the shot (or red laser) on the target.
The next thing will be to direct the center of the cross or the point of the center of the reticle of the telescopic sight correcting the drift and its height (follow the manufacturer’s instructions) in such a way that it is aligned and centered in the exact place where we made the first shot (or red dot from our collimator).
If you are looking to calibrate your scope with a single shot, using the method mentioned above, this will be your final step.
After the previous step, reload the rifle with a bullet and reposition the center of the crosshair of the sight in line with the center of the target. Once aligned, shoot again.
Your shot should now be positioned in the center of the target point and your rifle correctly calibrated. If not, repeat the previous step until your shots are positioned in the center of the target.
Remember, you shouldn’t expect all your shots to go to the center, but you can expect the grouping of them to be concentrated and as close to the center as possible.
First of all, there is no general rule of thumb that says you have to calibrate a scope at a certain distance. And it does not exist because the distance at which we calibrate our sight depends on our shot’s purpose.
It is certainly not the same for hunting at short distances or making precision shots at long distances. They are different purposes, and to achieve them, the methods are different and among those methods is calibration.
Having made this clarification, let us say that there is no general rule; there are what seasoned shooters call useful distances. These useful distances are simple methods to calibrate where a calibration distance will serve us for many shooting scenarios.
You can start at a distance of 25 to 30 yards. Then, a distance of 50 or 100 yards. Up to the shooter’s discretion. The 100m is preferable because what matters is hitting the target on the first try. Focusing over longer distances is, therefore, easier later. That said, if your focus is good at 100m, you will still be in the box at 200m or more. 5 or 6 balls will still have to be shot to refine the clicks to achieve the optimum.
 What Is Optical Zero, and How to Find It?
Optical zero is the factory zero of your rifle. Finding your rifle’s optical zero can be equated to centering your scope optically. To find your rifle’s optical zero, two pieces of equipment are critical: your scope and screwdriver, and there are two methods that can be used to achieve this: the counting method and the mirror method.
The mirror method involves examining the scope with a mirror by checking the crosshairs. If a shadow of the reticle is cast, it means it is not centrally aligned. To adjust it, turn the top and side turrets and keep examining with the mirror until the reticle and shadow align. It is basically a trial and error approach.
To commence finding optical zero with the counting method, check if your turrets can be adjusted automatically or will require an additional top like the screwdriver. Turn the top turret as far as it can go in a single direction, listen and observe the number of clicks as you turn in the opposite direction. Turn the turret in that direction for half the number of clicks. The same should be repeated for the side turret.
How can you save your time and your ammo? This has been answered earlier in this article – use a collimator. However, it is recommended that this is reserved for emergency purposes as it is not as efficient as the conventional method in zeroing a scope.
With all of these steps done correctly, you should be able to get your telescopic sight perfectly calibrated without much difficulty. To keep in mind: There are also other calibration methods; however, in this article, we decided to explain and show the one that, in our opinion, is the fastest and most efficient of them.
It should also be borne in mind that, if you do not have a bolt-action rifle, but one with a semi-automatic or compressed air mechanism, the process of aligning the rifle with the target will not be the same as that present in this list, therefore you must skip step 4.
Safety note: we advise you to follow this series of steps respecting the safety regulations and only load the firearm and shoot when you are ready and certain that there is no risk or danger of injuring yourself or another person. Taking a hunter safety or firearm handling class is a good idea and highly recommended if you are going to start hunting or shooting around other people.
One last point to note is that if you are just starting with zeroing a rifle and you’re finding it difficult, take your time. It gets better with experience. It is our hope that when reading through this article, you have learned how to zero your rifle scope, and you will continue to enjoy your ranging experience.

 About us
  Contact Us